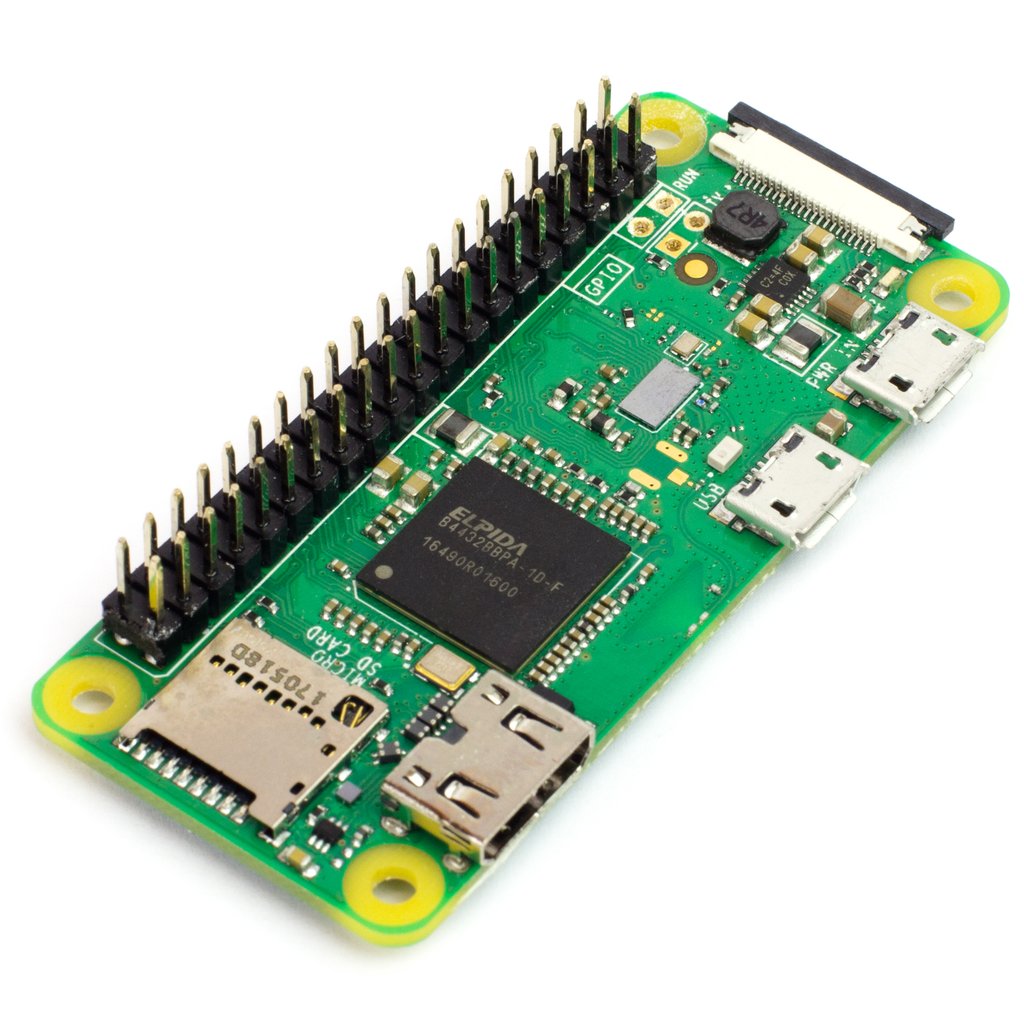
Photo by Pimoroni
Headless zombies?
Not quite what you think. Running a Raspberry Pi in headless mode means you set it up so that it can boot and run without needing a display, keyboard and mouse.
This guide should work with most Raspberry Pis.
Deja vu
No glitches in the matrix here.
I originally wrote a guide on how I setup a Pi Zero W to run headless back in July 2019 but never got round to polishing and publishing it. This was part of a timelapse project I did while we lived in a rental place (because we were put out of our home due to a fire caused by my neighbour) that had a stunning view.
Alex Ellis wrote this amazing article about how he did timelapse photography using a Pi Zero and also wrote the phototimer software.
My "server" is in storage at the moment but I will share some of the timelapsing I did back in 2019 as soon as I can.
Hardware
Pimoroni is currently (April 2021) running an easter special and I ordered the Grow Kit along with a Raspberri Pi Zero WH. I opted for the pre-soldered header one, mainly just because all my electronics and tools are in storage.
So now is an excellent time to revisit setting up a Raspberry Pi Zero (W) to run headless.
Originally back in 2019 I had issues getting the Raspberry Pi Zero W with Raspbian Buster to allow SSH to work on boot. However I came across this tutorial that allows you to SSH over USB. While writing this guide I will see if now in 2021 we still face the same issues or not. UPDATE: Didn’t have any of these issues. 🙂
Software
Note: Raspbian has been renamed to Raspberry Pi OS.
Download the latest Raspberry Pi OS Lite image from here.
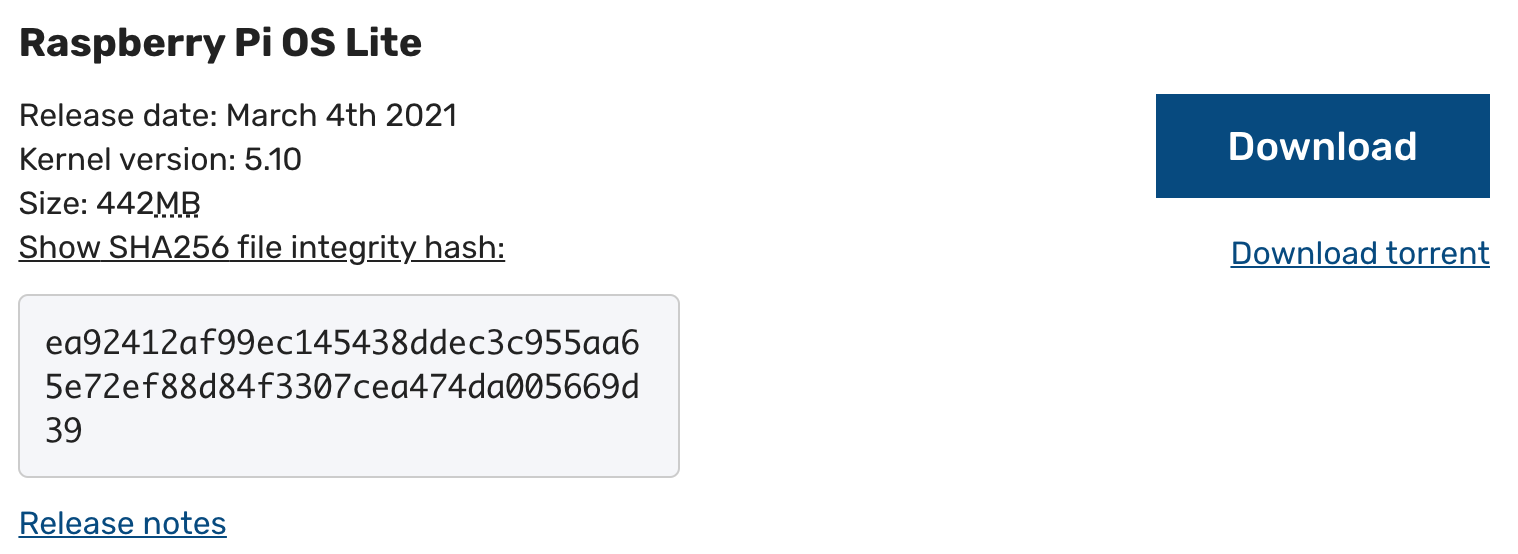
Ensure the SHA256 checksum matches.
$ shasum -a 256 2021-03-04-raspios-buster-armhf-lite.zip
ea92412af99ec145438ddec3c955aa65e72ef88d84f3307cea474da005669d39  2021-03-04-raspios-buster-armhf-lite.zip
Flash the image to a microSD card. I prefer to use balenaEtcher (aka Etcher).
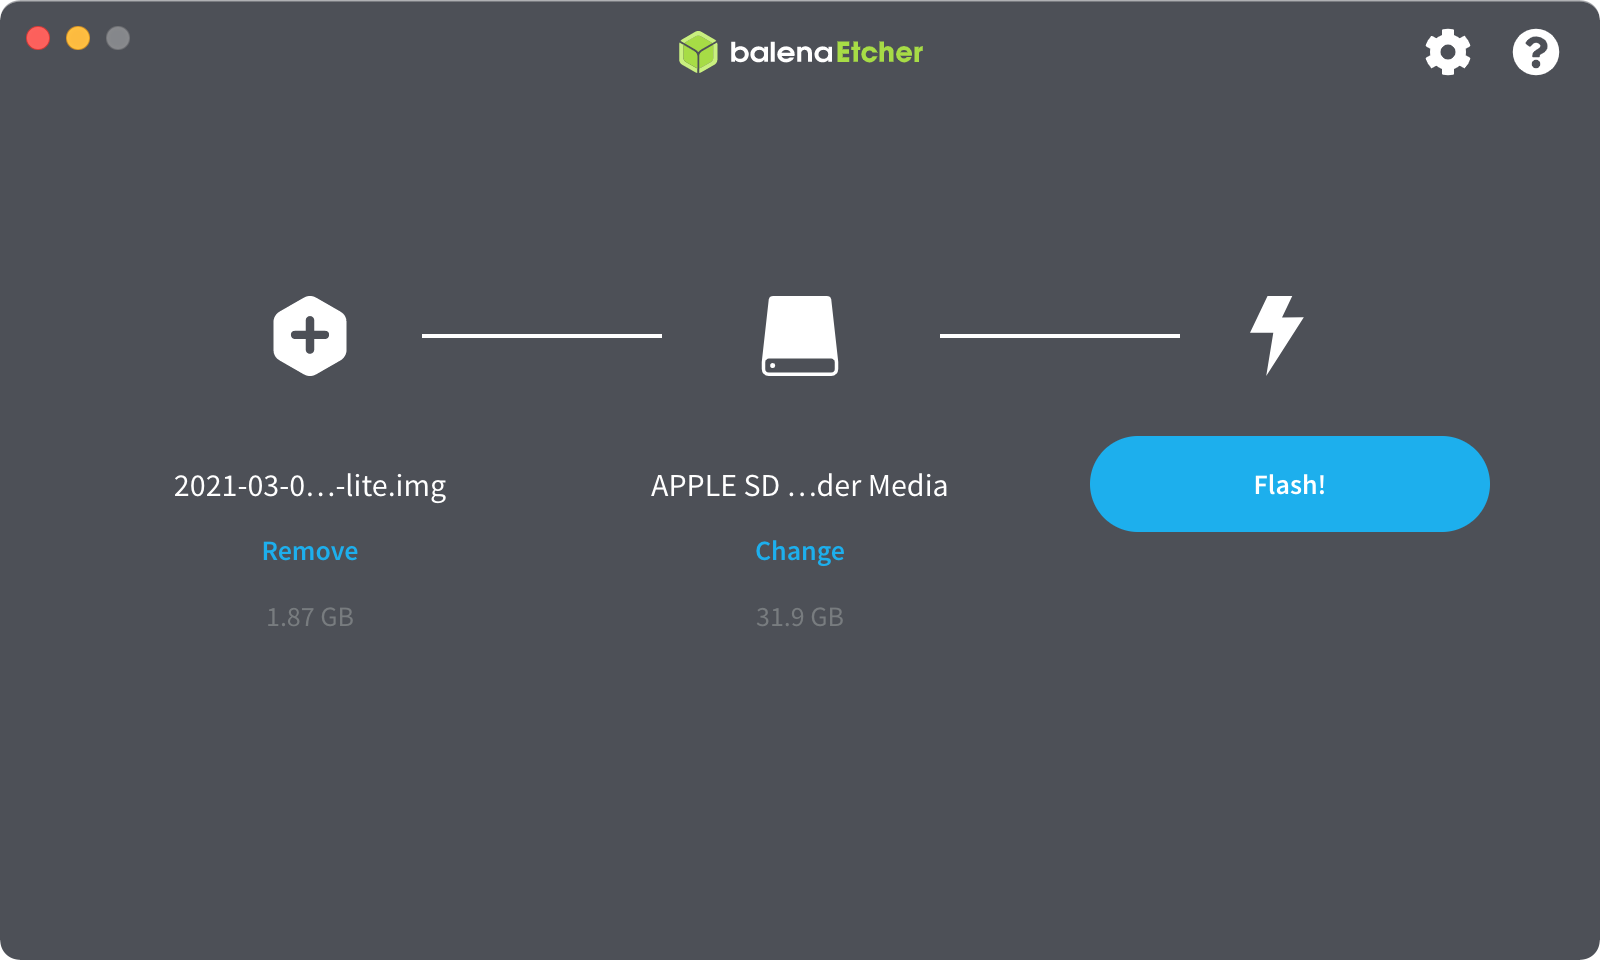
Note: balenaEtcher will unmount the SD card and you have to re-insert it to add the required config files.
Configure the Pi to use your WiFi network
You do not need to do this if you are setting up a full blown Raspberry Pi (e.g. 3, 4 etc.) and you are only planning on using the ethernet network connection.
Create a file named wpa_supplicant.conf in the root directory of the SD card volume named boot. On macOS the location would be /Volumes/boot.
ctrl_interface=DIR=/var/run/wpa_supplicant GROUP=netdev
update_config=1
country=GB

network={
    ssid="NAME OF YOUR WIFI"
    psk="WIFI PASSWORD"
    scan_ssid=1
}
Enable SSH
SSH is disabled by default on the Raspberry Pi OS for good reason of course.
Create a file named ssh (no extension) in the root directory of the SD card volume named boot. This file can be empty.
$ touch /Volumes/boot/ssh
Booting time
Note: The files wpa_supplicant.conf and ssh will be deleted after the Pi has booted.
Safely remove the SD card and insert it into the Rasperry Pi.
Connect the Raspberry Pi to a power supply and notice that the green LED should be blinking and eventually be completely ON.
Wait for about 2 minutes. The Pi Zero takes a while to boot (especially the first time after a new image is flashed onto the SD card).
Identify the IP address of the Raspberry Pi.
You should be able to ping the Pi using the hostname raspberrypi.local if mDNS is working on your network.
$ ping -c 3 raspberrypi.local
PING raspberrypi.local (192.168.4.25): 56 data bytes
64 bytes from 192.168.4.25: icmp_seq=0 ttl=64 time=16.157 ms
64 bytes from 192.168.4.25: icmp_seq=1 ttl=64 time=6.543 ms
64 bytes from 192.168.4.25: icmp_seq=2 ttl=64 time=10.337 ms
If you can’t find the Pi on your network then it is worth trying nmap.
$ nmap -sP 192.168.1.0/24 | grep raspberrypi
Configuring the Raspberry Pi
SSH into the Pi.
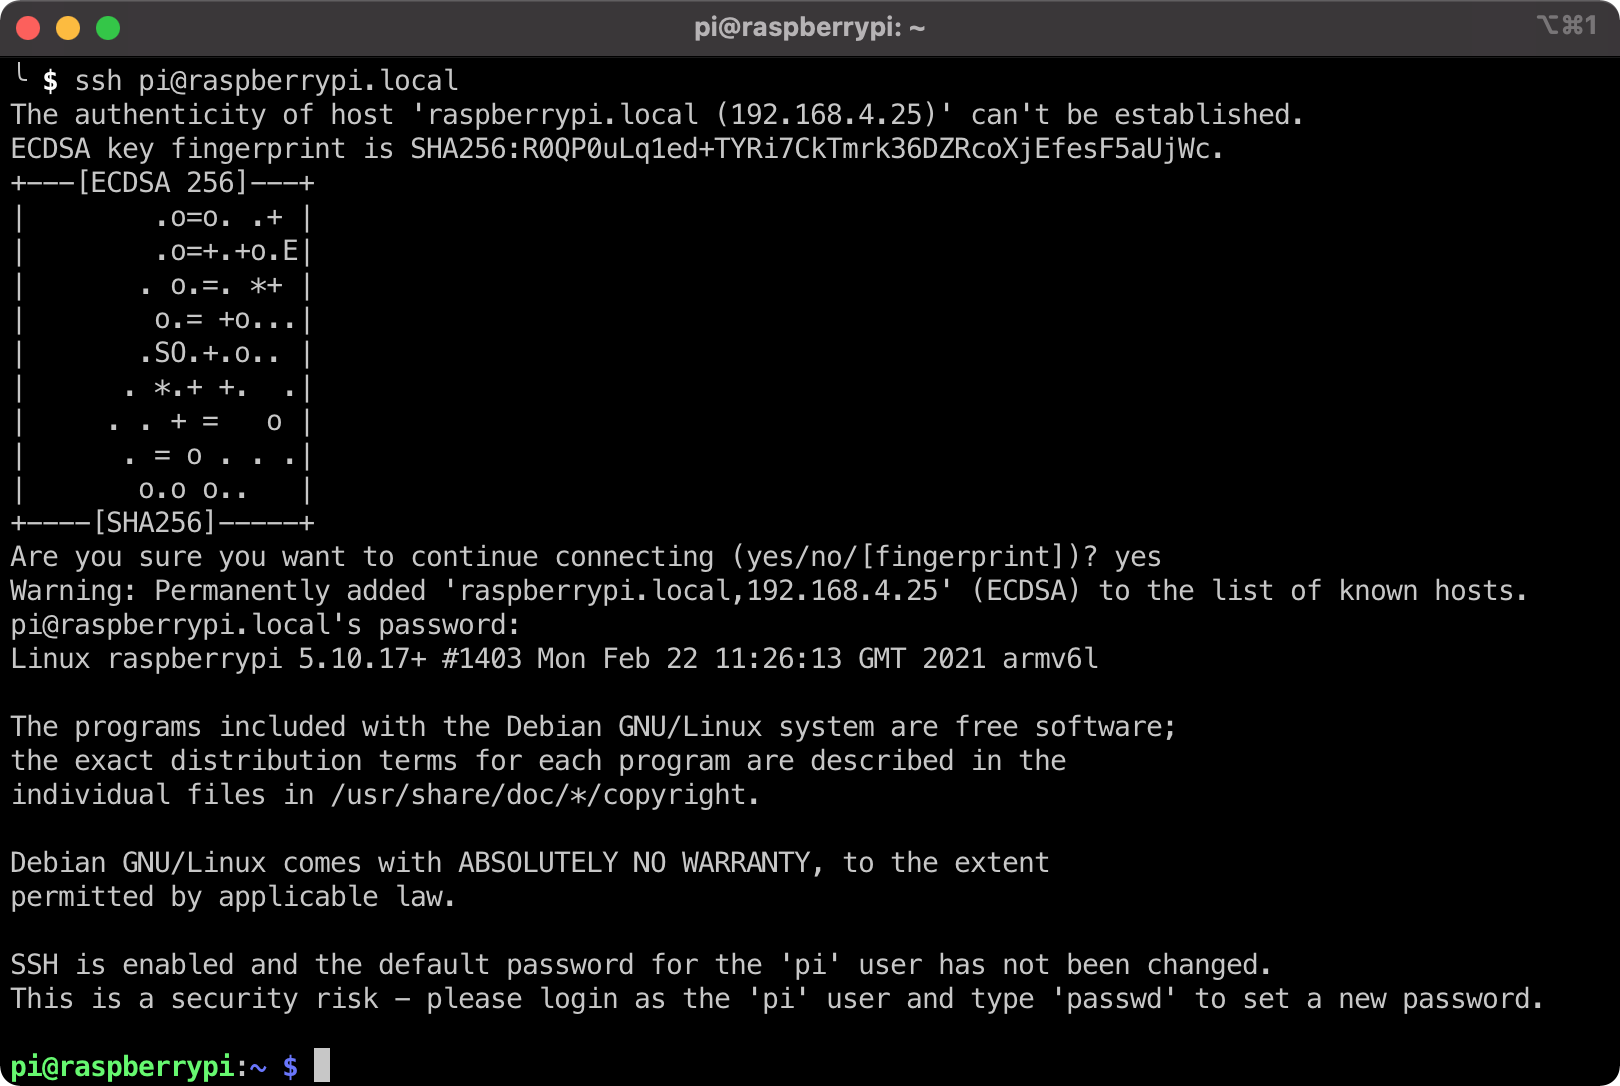
$ ssh pi@raspberrypi.local

The authenticity of host 'raspberrypi.local (192.168.4.25)' can't be established.
ECDSA key fingerprint is SHA256:R0QP0uLq1ed+TYRi7CkTmrk36DZRcoXjEfesF5aUjWc.
+---[ECDSA 256]---+
|        .o=o. .+ |
|        .o=+.+o.E|
|       . o.=. *+ |
|        o.= +o...|
|       .SO.+.o.. |
|      . *.+ +.  .|
|     . . + =   o |
|      . = o . . .|
|       o.o o..   |
+----[SHA256]-----+
Are you sure you want to continue connecting (yes/no/[fingerprint])?

# Type yes
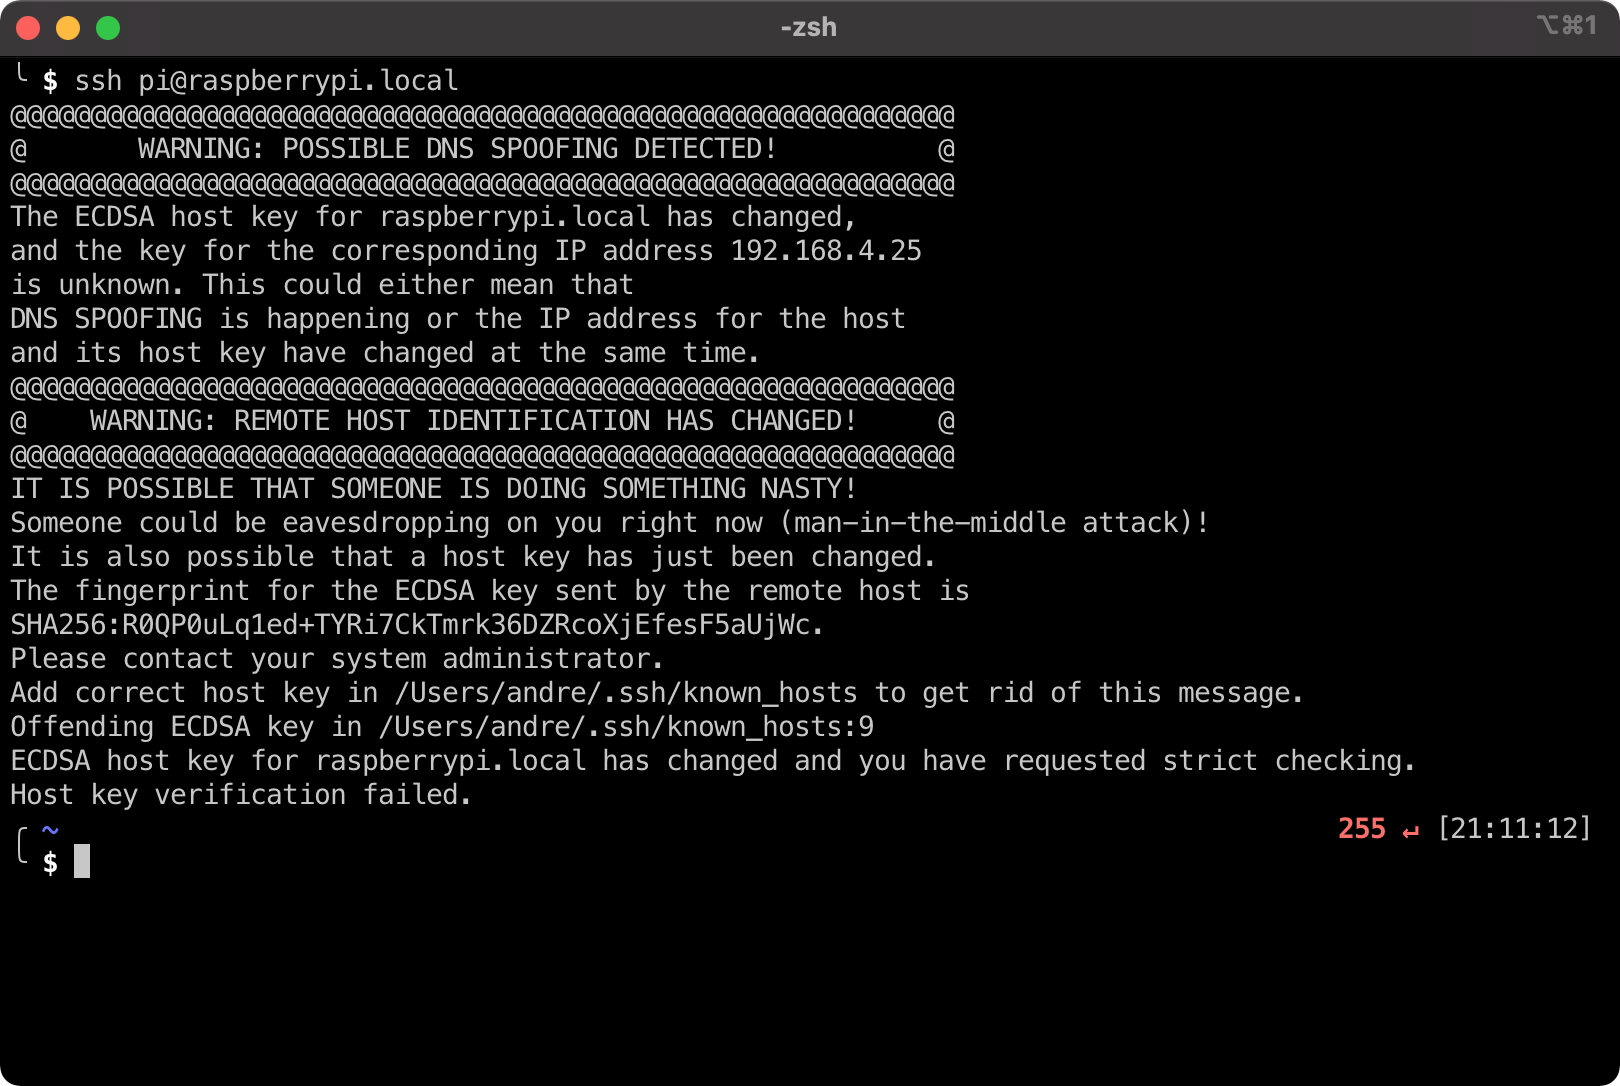
Message of Doom! I got this big warning, but in my case it is just because I already had another raspberrypi.local’s SSH fingerprint in my .ssh/known_hosts file. To fix this I just removed the raspberrypi.local entry from ~/.ssh/known_hosts.
Enter the password: raspberry
Change the password and hostname
Run raspi-config
pi@raspberrypi:~ $ sudo raspi-config
Change the default password for the user pi. Select option 1 (System Options) → S3 Password. I highly recommend you use a password manager like 1Password to generate the password.
Change the hostname. Select option 1 (System Options) → S4 Hostname. I will be using the name "growpi" since this one will be used with the Pimoroni Grow HAT mini.
Expand the file system to utilise all of the SD card. Select option 6 (Advanced Options) → A1 Expand Filesystem.
Save and exit by choosing Finish. Also say yes for rebooting the Pi.
Verify the changes
# SSH using the new hostname and password
$ ssh pi@growpi.local
pi@growpi:~ $
Update and Upgrade the OS
pi@growpi:~ $ sudo apt update & sudo apt upgrade
Harden the Raspberry Pi
Change the SSH port and disable root login.
pi@growpi:~ $ sudo cp /etc/ssh/sshd_config /etc/ssh/sshd_config.bak
pi@growpi:~ $	sudo nano /etc/ssh/sshd_config

# Add or modify the following values
Port 8204
PermitRootLogin no
Restart SSH and verify.
pi@growpi:~ $ sudo systemctl restart ssh
pi@growpi:~ $ sudo systemctl status ssh

● ssh.service - OpenBSD Secure Shell server
   Loaded: loaded (/lib/systemd/system/ssh.service; enabled; vendor preset: enabled)
   Active: active (running) since Sun 2021-04-04 00:13:01 BST; 9s ago
     Docs: man:sshd(8)
           man:sshd_config(5)
  Process: 2833 ExecStartPre=/usr/sbin/sshd -t (code=exited, status=0/SUCCESS)
 Main PID: 2834 (sshd)
    Tasks: 1 (limit: 877)
   CGroup: /system.slice/ssh.service
           └─2834 /usr/sbin/sshd -D

Apr 04 00:13:01 growpi systemd[1]: Starting OpenBSD Secure Shell server...
Apr 04 00:13:01 growpi sshd[2834]: Server listening on 0.0.0.0 port 8204.
Apr 04 00:13:01 growpi sshd[2834]: Server listening on :: port 8204.
Apr 04 00:13:01 growpi systemd[1]: Started OpenBSD Secure Shell server.

pi@growpi:~ $ netstat -t -l -n | grep 8204
tcp        0      0 0.0.0.0:8204            0.0.0.0:*               LISTEN
tcp6       0      0 :::8204                 :::*                    LISTEN
Use a public/private RSA key pair instead for logging into SSH
Create a new key pair on your local machine. Again I highly recommend you use a password manager to generate the passphrase.
# On your local machine
$ ssh-keygen -t rsa -b 4096 -f ~/.ssh/id_rsa_growpi -C "Raspberry Pi Grow"

Generating public/private rsa key pair.
Enter passphrase (empty for no passphrase):
Enter same passphrase again:
Your identification has been saved in /Users/andre/.ssh/id_rsa_growpi.
Your public key has been saved in /Users/andre/.ssh/id_rsa_growpi.pub.
The key fingerprint is:
SHA256:FR7znJ6JuOPDPl0gasm12EQLsBFxHPheCtsOvb725kY Raspberry Pi Grow
The key's randomart image is:
+---[RSA 4096]----+
|    =*o.  +      |
|    .+o .. * .   |
|    .. o .o +    |
|    . . *o.o o   |
|     B XSo..+    |
|    o @ E.  .    |
|     + +o. .     |
|      +.*..      |
|     ooB=o       |
+----[SHA256]-----+

# On macOS add to the key chain to save you from having to enter the passphrase
$ ssh-add -K ~/.ssh/id_rsa_growpi

Enter passphrase for /Users/andre/.ssh/id_rsa_growpi:
Identity added: /Users/andre/.ssh/id_rsa_growpi (Raspberry Pi Grow)
Store the private and public key files in your password manager.
Copy the public key (.pub) over to the Raspberry Pi.
# Still on your local machine
$ scp -P 8204 ~/.ssh/id_rsa_growpi.pub pi@growpi.local:/home/pi
Create the file authorized_keys on the Pi.
# On the Raspberry Pi
pi@growpi:~ $ cd ~
pi@growpi:~ $ ls -la
...
-rw-r--r-- 1 pi   pi    743 Apr  4 00:24 id_rsa_growpi.pub

# Create the .ssh directory and set permissions
pi@growpi:~ $ mkdir ~/.ssh
pi@growpi:~ $ chmod 700 ~/.ssh
# Copy the public key to authorized_keys
pi@growpi:~ $ cat ~/id_rsa_growpi.pub >> ~/.ssh/authorized_keys
pi@growpi:~ $ cat ~/.ssh/authorized_keys

# Check that the public key matches

# Delete the public key that was copied over
pi@growpi:~ $ rm ~/id_rsa_growpi.pub
pi@growpi:~ $ ls -la
...
drwx------ 2 pi   pi   4096 Apr  4 00:29 .ssh
Allow only key pairs to be used by SSH
pi@growpi:~ $ sudo nano /etc/ssh/sshd_config

# Add or modify the following value
PasswordAuthentication no
Restart SSH and verify.
pi@growpi:~ $ sudo systemctl restart ssh
pi@growpi:~ $ sudo systemctl status ssh
Try to login from you local machine (without using the key pair)
$ ssh -p 8204 pi@growpi.local

pi@growpi.local: Permission denied (publickey).
That is great because now only the key pair will be allowed and no brute forcing of the user’s password.
Login with the key pair.
$ ssh -p 8204 -i ~/.ssh/id_rsa_growpi -o PreferredAuthentications=publickey pi@growpi.local
...
pi@growpi:~ $
# Voila!
If you don’t want to specify all those options every time on the CLI then you can edit your ~/.ssh/config file.
# ~/.ssh/config
...
# Rasperry Pi used for Growing plants
Host growpi.local
	HostName growpi.local
	PreferredAuthentications publickey
	IdentityFile ~/.ssh/id_rsa_growpi
	IdentitiesOnly yes
	VisualHostKey=yes
	Port 8204

...
# All Others
Host *
	PreferredAuthentications password
	UseKeychain yes
  VisualHostKey=yes
# After editing ~/.ssh/config, it is now just a matter of running SSH like this:
$ ssh -p 8204 pi@growpi.local
Wrapping up
Tomorrow I will start exploring the Grow HAT mini from Pimoroni. But for now it is:
pi@growpi:~ $ sudo shutdown -h now
Thank you.
I was using Ubuntu but it worked for me.
Thanks