I ❤️ the Raspberry Pi Pico and think this is the best microcontroller since the AVR! My history with microcontrollers go back to the late 90s using PIC16s followed by AVR ATtiny/mega (Arduino etc.) as I dabble with Electronics from time to time.
I don’t think it has ever been this easy to use a microcontroller as it is with the Raspberry Pi Pico. Trust me back in the late 90s you had to etch your own PCB and build a PIC programmer if you were on a budget. Now for £3 you can buy an incredibly powerful microcontroller and program it just by plugging it into a USB port. 🤯
In this guide I will show you how I have setup my Mac running macOS Big Sur and is able to build and debug C/C++ code on a Raspberry Pi Pico. The reference material I used can be found at the bottom of this guide.
Installing the Toolchain
I prefer to use homebrew as my package manager on macOS, doesn’t everyone nowadays?
- Install homebrew if you have not done so yet.
- Ensure everything is ok and update homebrew packages.
$ brew doctor
$ brew update
$ brew upgrade
- Install the Toolchain (following section 9.1 Building on Apple macOS from the Official guide)
$ brew install cmake
$ brew tap ArmMbed/homebrew-formulae
$ brew install arm-none-eabi-gcc
- After installing the Toolchain the instructions are the same as for Linux.
- Get the SDK and example code git repositories (section 2.1).
- NOTE: Make sure the path you will be using to store all the git repositories does not have spaces in the path. I ran into issues while trying to build OpenOCD.
# cd into a directory where you want to store the files
$ git clone -b master https://github.com/raspberrypi/pico-sdk.git
$ cd pico-sdk
$ git submodule update --init

# Get the example code
$ cd ..
$ git clone -b master https://github.com/raspberrypi/pico-examples.git
Compiling and running Blink
- Get cmake ready to build the examples.
$ cd pico-examples
$ mkdir build
$ cd build

# Set the path to where the SDK can be found
$ export PICO_SDK_PATH=../../pico-sdk

# Get the build directory ready for cmake
$ cmake ..
- Build the blink example.
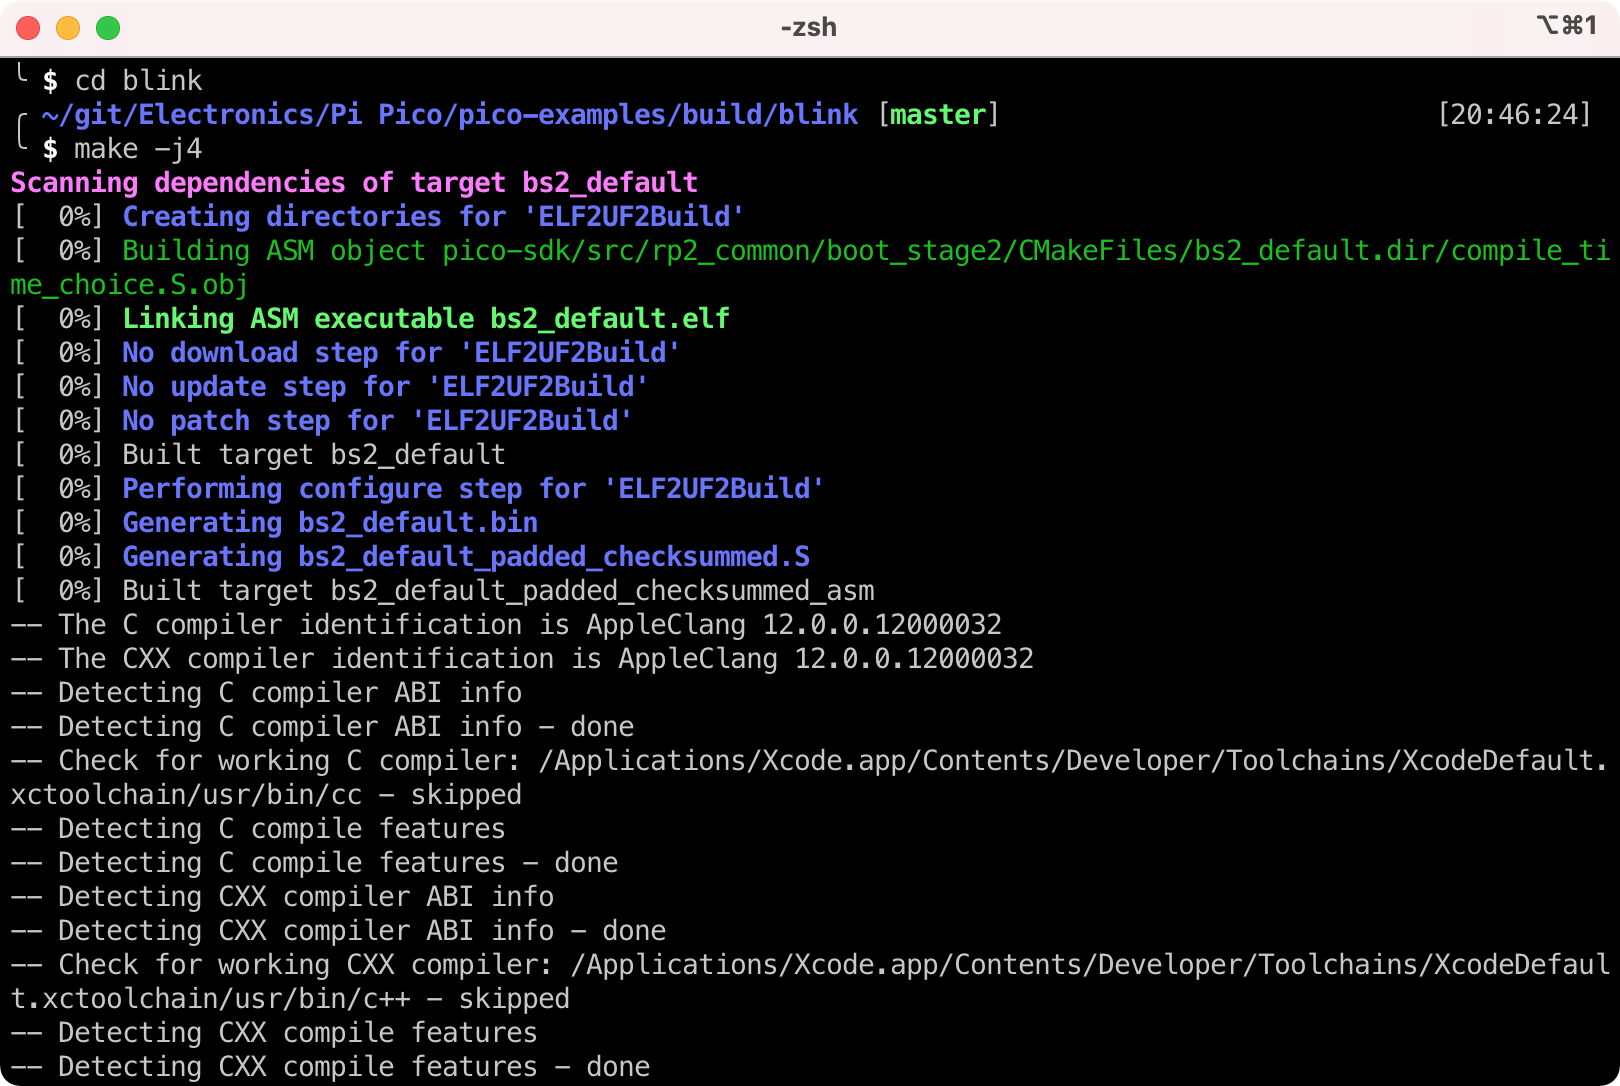
$ cd blink
$ make -j4
...
[100%] Linking CXX executable blink.elf
[100%] Built target blink

# You should now have a blink.uf2 file inside the build/blink directory
- Connect a Raspberry Pi Pico via USB to the Mac. Hold down BOOTSEL to get access to the storage.
- Drag the file named
blink.uf2over to the attached drive namedRPI-RP2. - The drive will be disconnected and the blink program should start running that constantly flashes the LED.
Installing OpenOCD
OpenOCD (On Chip Debugging) is used to translate commands from gdb (debugger) to SWD (debugging interface provided by the ARM chip) and can also be used to flash a new program on the Pico without having to do the unplug + BOOTSEL tango.
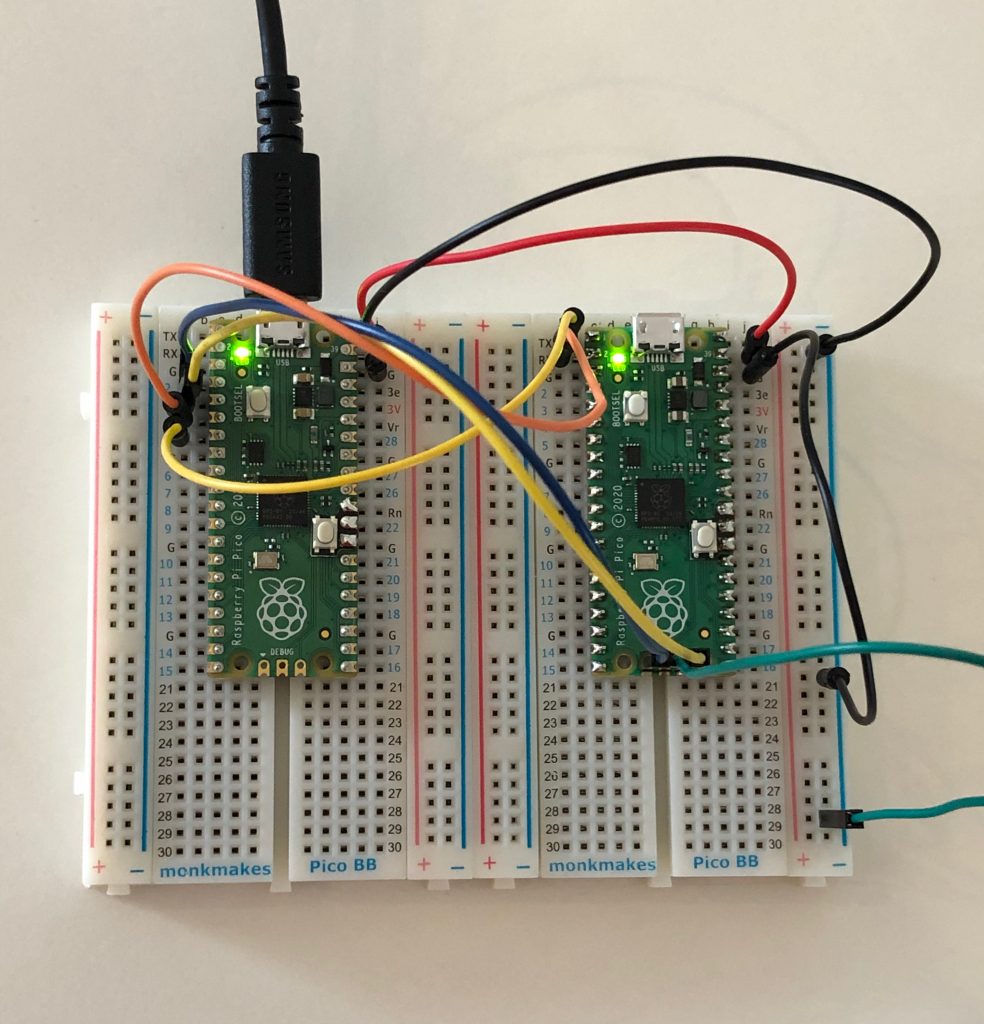
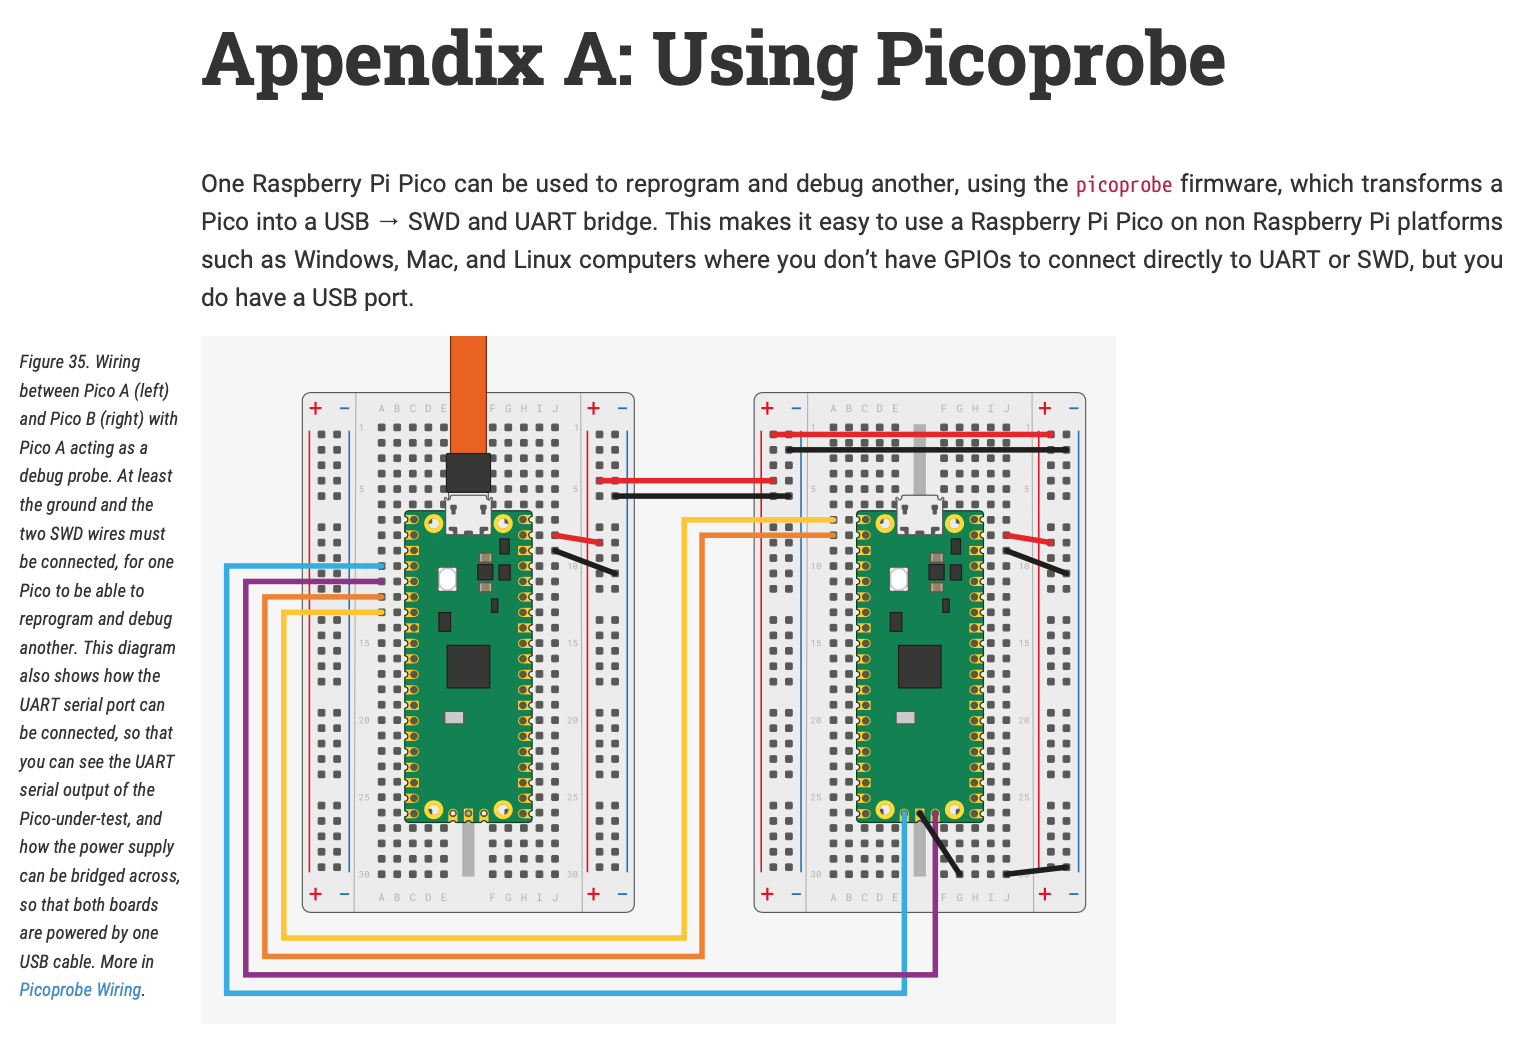
NOTE: I will be using picoprobe since I am on a Mac. This requires having one Pico running the picoprobe program that is connected to the actual Pico to be debugged. See Appendix A from the official guide.
- Install dependencies.
$ brew install libtool automake libusb wget pkg-config gcc texinfo
...
# Note this output
If you need to have texinfo first in your PATH, run:
  echo 'export PATH="/usr/local/opt/texinfo/bin:$PATH"' >> ~/.zshrc

$ export PATH="/usr/local/opt/texinfo/bin:$PATH"
- Download source code and build OpenOCD
$ git clone https://github.com/raspberrypi/openocd.git --branch picoprobe --depth=1
$ cd openocd
$ ./bootstrap
$ ./configure --enable-picoprobe --disable-werror
$ make -j4
$ make install
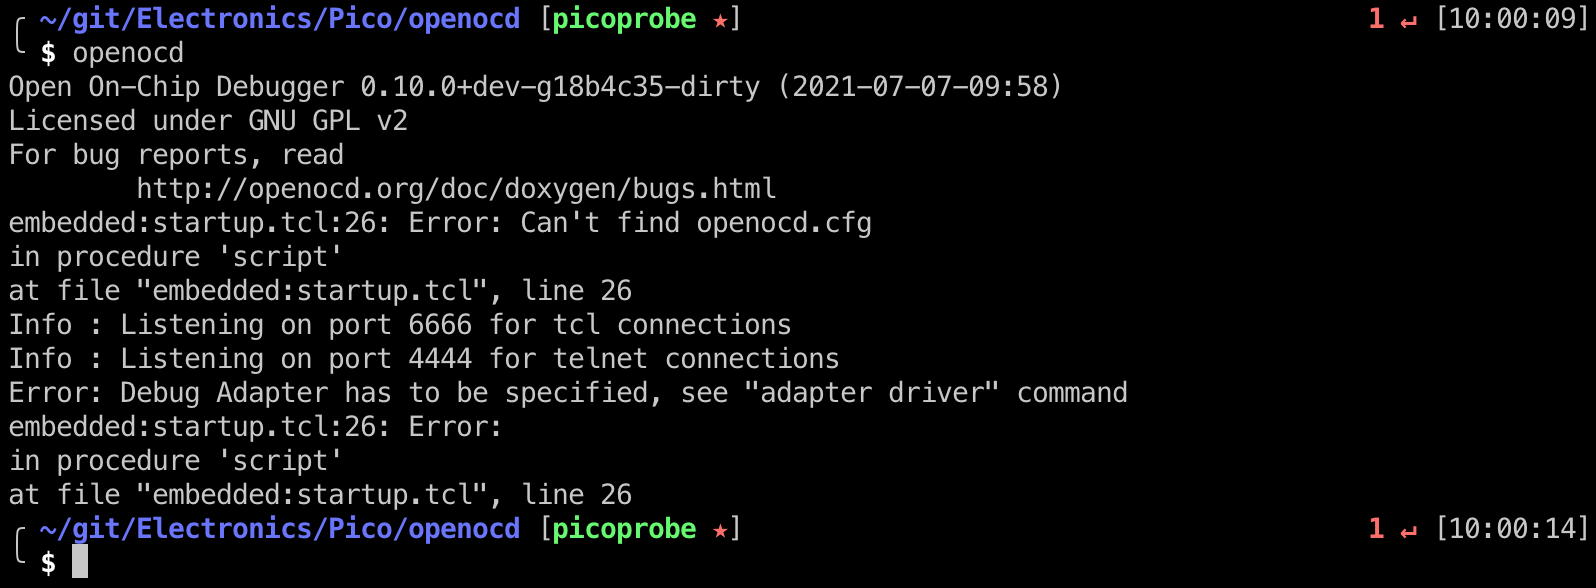
- Run OpenOCD to verify it was built and installed
$ openocd
Open On-Chip Debugger 0.10.0+dev-g18b4c35-dirty (2021-07-07-09:58)
...
Error: Debug Adapter has to be specified, see "adapter driver" command
...
Installing picoprobe
picoprobe is used to connect the Mac via USB to the Raspberry Pi Pico that will then be attached to the Pico that is being debugged. If you are using a Raspberry Pi, then you can just connect via the GPIO pins and not need the extra Pico in the mix.
You can download a precompiled uf2 of picoprobe, however I will be building from source.
- Build
picoprobefrom source.
# You might need to set the PICO_SDK_PATH again if you closed the terminal at some point
# export PICO_SDK_PATH=../../pico-sdk

$ git clone https://github.com/raspberrypi/picoprobe.git
$ cd picoprobe
$ mkdir build
$ cd build
$ cmake ..
$ make -j4
...
[100%] Linking CXX executable picoprobe.elf
[100%] Built target picoprobe
- You should now have a filed called
picoprobe.uf2inside the build directory. - Hold down BOOTSEL and connect the Pico to your Mac. The drive RPI-RP2 should be mounted.
- Drag the
picoprobe.uf2file onto the drive.
Wire up the two Picos
See Appendix A: Using Picoprobe from the official getting started guide for the wiring diagram.
(Image from the official guide)
Installing gdb and doing a test debug (optional)
You don’t need this if you are only going to be using Visual Studio Code for development and debugging. However I wanted to confirm that everything is working from as lower level (away from IDEs) as possible.
- Install gdb … guess what? You don’t need to install gdb, gdb-multiarch or any of the stuff mentioned for other platforms. You already have
arm-none-eabi-gdbinstalled from the toolchain steps.
$ which arm-none-eabi-gdb
/usr/local/bin/arm-none-eabi-gdb
- Run OpenOCD and confirm that it can attach to the Pico being debugged. Ensure the two Picos are wired up correctly.
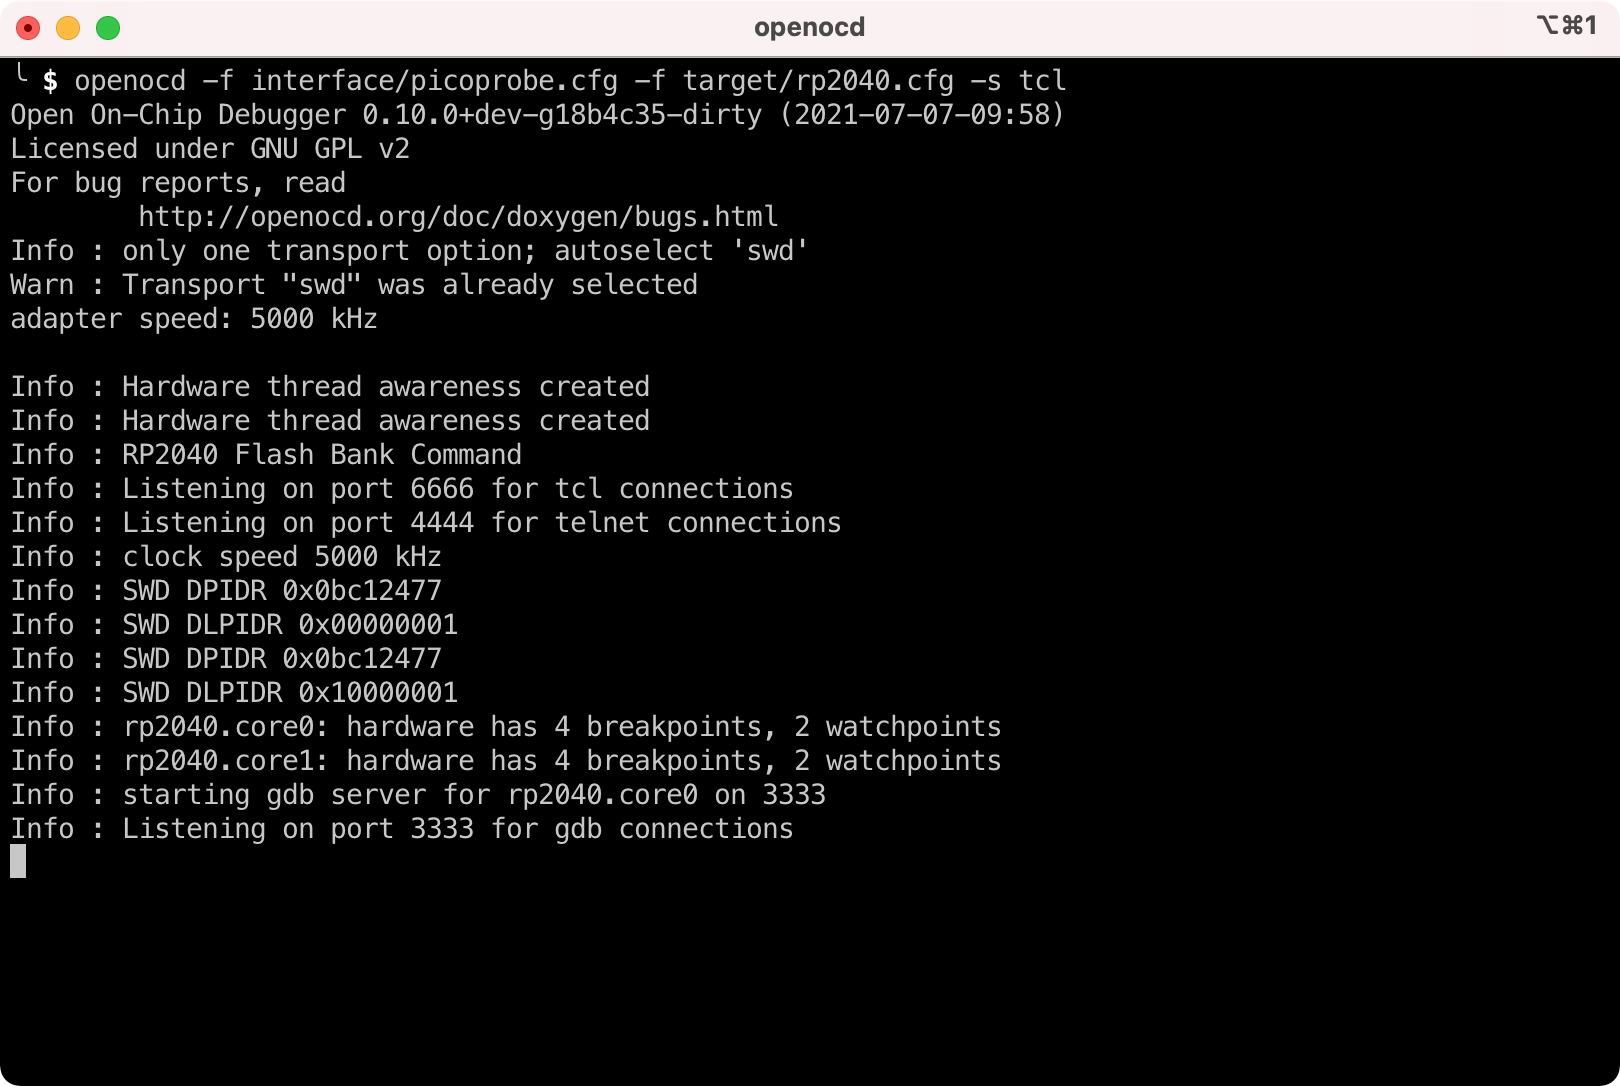
$ openocd -f interface/picoprobe.cfg -f target/rp2040.cfg -s tcl
...
Info : rp2040.core0: hardware has 4 breakpoints, 2 watchpoints
Info : rp2040.core1: hardware has 4 breakpoints, 2 watchpoints
Info : starting gdb server for rp2040.core0 on 3333
Info : Listening on port 3333 for gdb connections
- You want to see the output as per above. This indicates that OpenOCD and gdb are connected to the Pico that is being debugged.
- Following section 6 from the official guide to build a debug version of Hello World.
# Open another terminal, since OpenOCD is running in one already
$ cd <YOUR_PATH>/pico-examples/
$ rm -rf build
$ mkdir build
$ cd build
$ export PICO_SDK_PATH=../../pico-sdk
$ cmake -DCMAKE_BUILD_TYPE=Debug ..
$ cd hello_world/serial
$ make -j4
...
[100%] Linking CXX executable hello_serial.elf
[100%] Built target hello_serial
- You should now have a file named
hello_serial.elfinside the build/hello_world/serial directory. - Run gdb and load the hello_serial.elf binary.
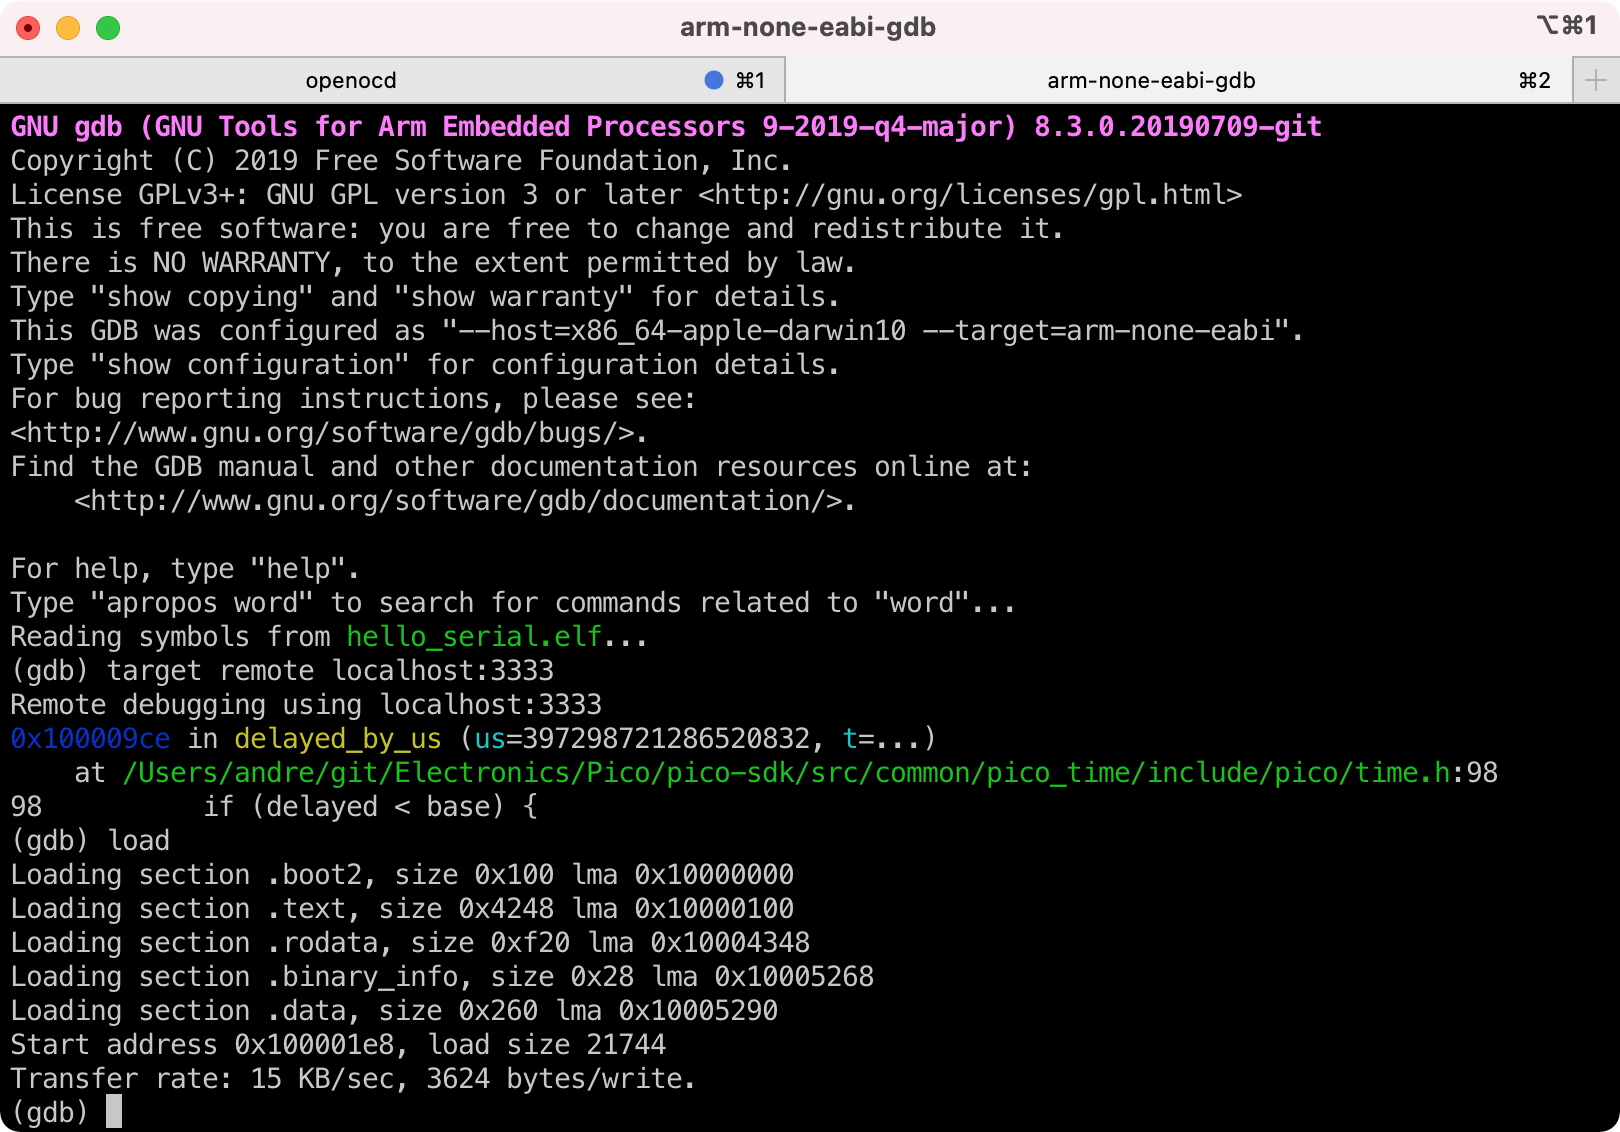
$ arm-none-eabi-gdb hello_serial.elf
- Connect OpenOCD to this gdb session
(gdb) target remote localhost:3333
(gdb) load
- Set a breakpoint to stop when main() is called and run the program.
(gdb) monitor reset init
(gdb) b main
...
Breakpoint 1 at 0x1000030e: file .../pico-examples/hello_world/serial/hello_serial.c, line 11.

(gdb) continue
...
target halted due to debug-request, current mode: Thread
xPSR: 0x01000000 pc: 0x00000178 msp: 0x20041f00

Thread 1 hit Breakpoint 1, main ()
    at .../pico-examples/hello_world/serial/hello_serial.c:11
11	    stdio_init_all();
- Hoorah! Well done soldier, if you made it this far then it means you now have a debuggable Pico attached to your Mac. To quit gdb just type quit or q.
Setup Visual Studio Code for development and debugging
- Download and install Visual Studio Code.
- Now would be a good time to add
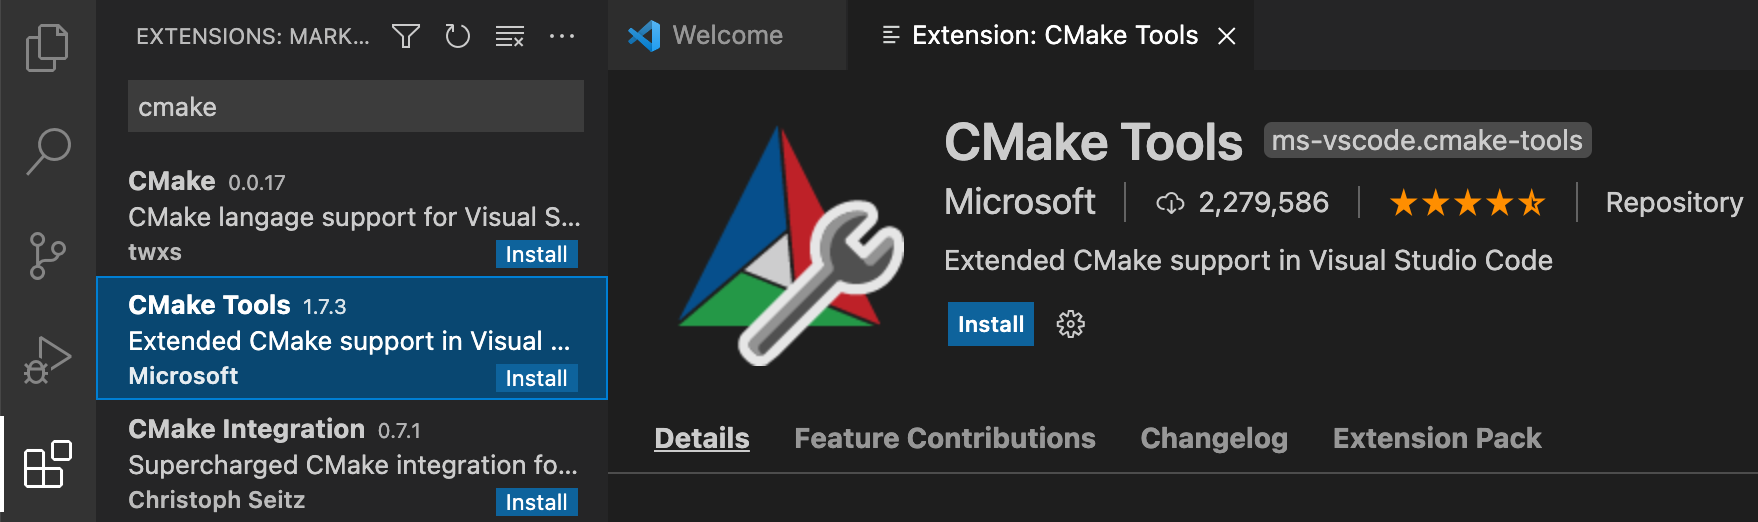
PICO_SDK_PATHto your shell’s path since Visual Studio Code will need this. - Install the CMake Tools extension made by Microsoft. Click on the Extensions icon in the sidebar or
⌘⇧X.
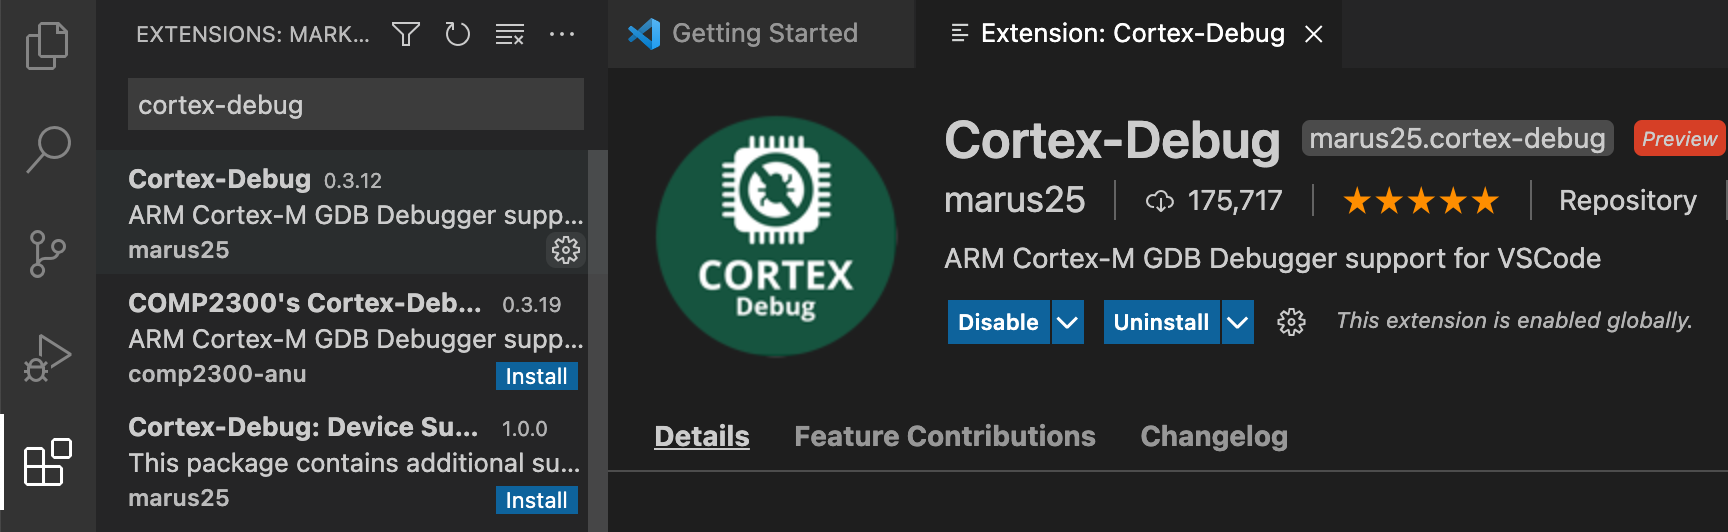
- Install Cortex-Debug by marus25.
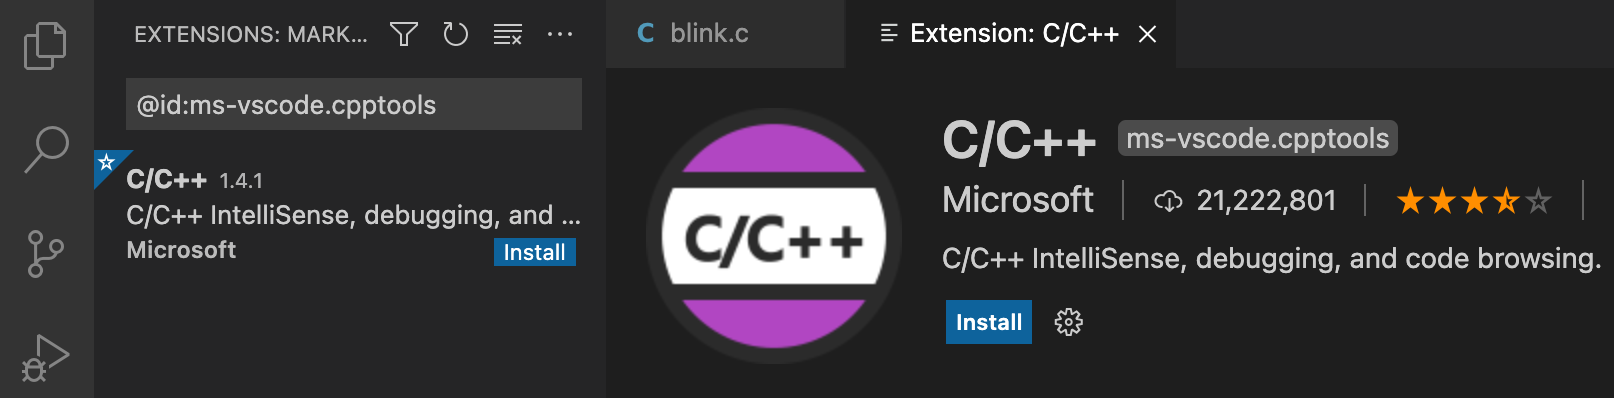
- Install C/C++ from Microsoft.
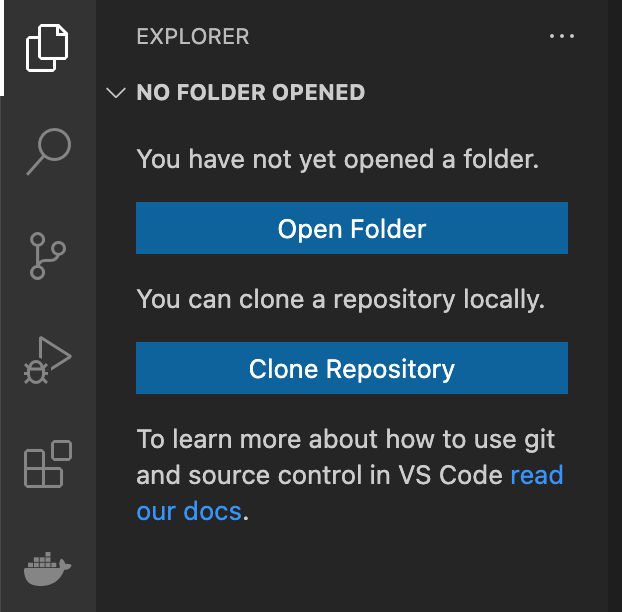
- Open the pico-examples directory.
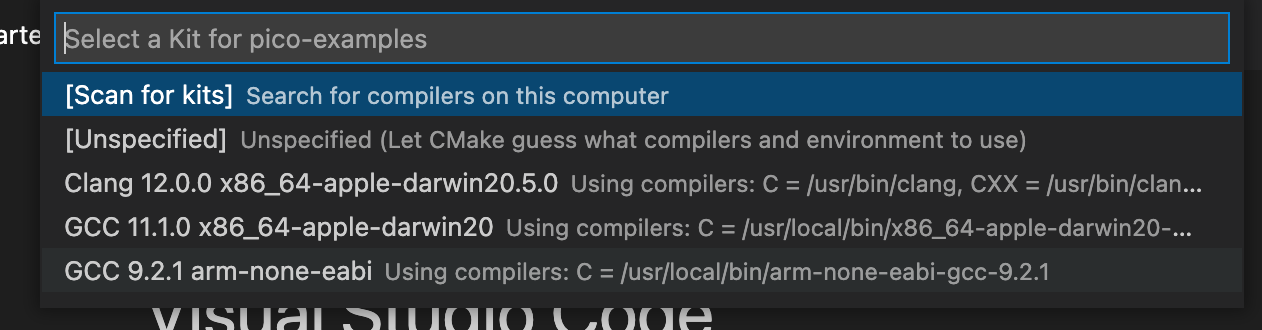
- Configure CMake Tools. Click Yes.

- Select the arm-none-eabi option.
- Once the configuration is done, you will be able to Build all or select individual examples to build.

- Following section 7 of the official guide for configuring Visual Studio Code to be able to use OpenOCD for debugging.
- Create the launch.json and settings.json files inside the .vscode directory of your project. Since I am using the pico-examples directory as my project, I will create the files in there.
$ cd <YOUR_PATH>/pico-examples
$ mkdir .vscode
# The example repo comes with example settings
$ cp ide/vscode/launch-raspberrypi-swd.json .vscode/launch.json
$ cp ide/vscode/settings.json .vscode/settings.json
- Edit the file
.vscode/launch.jsonand make the following changes.
"gdbPath" : "arm-none-eabi-gdb",
"configFiles": [
	"interface/picoprobe.cfg",
	"target/rp2040.cfg"
],
- For reference here is the full
.vscode/launch.jsonI am using.
{
    "version": "0.2.0",
    "configurations": [
        {
            "name": "Pico Debug",
            "cwd": "${workspaceRoot}",
            "executable": "${command:cmake.launchTargetPath}",
            "request": "launch",
            "type": "cortex-debug",
            "servertype": "openocd",
            "gdbPath" : "arm-none-eabi-gdb",
            "device": "RP2040",
            "configFiles": [
                "interface/picoprobe.cfg",
                "target/rp2040.cfg"
            ],
            "svdFile": "${env:PICO_SDK_PATH}/src/rp2040/hardware_regs/rp2040.svd",
            "runToMain": true,
            "postRestartCommands": [
                "break main",
                "continue"
            ]
        }
    ]
}
- Close and reopen Visual Studio Code and open the project (in my case the pico-examples directory).
- Ensure the Picoprobe + Pico is connected to your Mac.
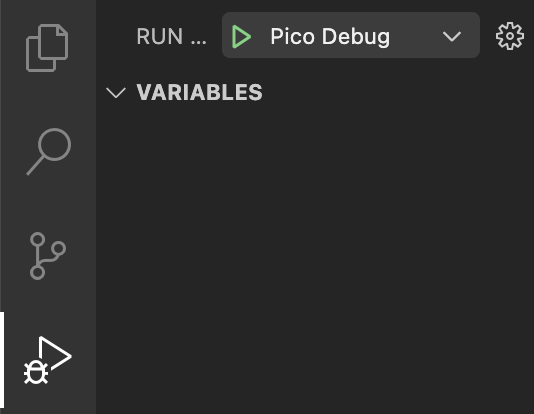
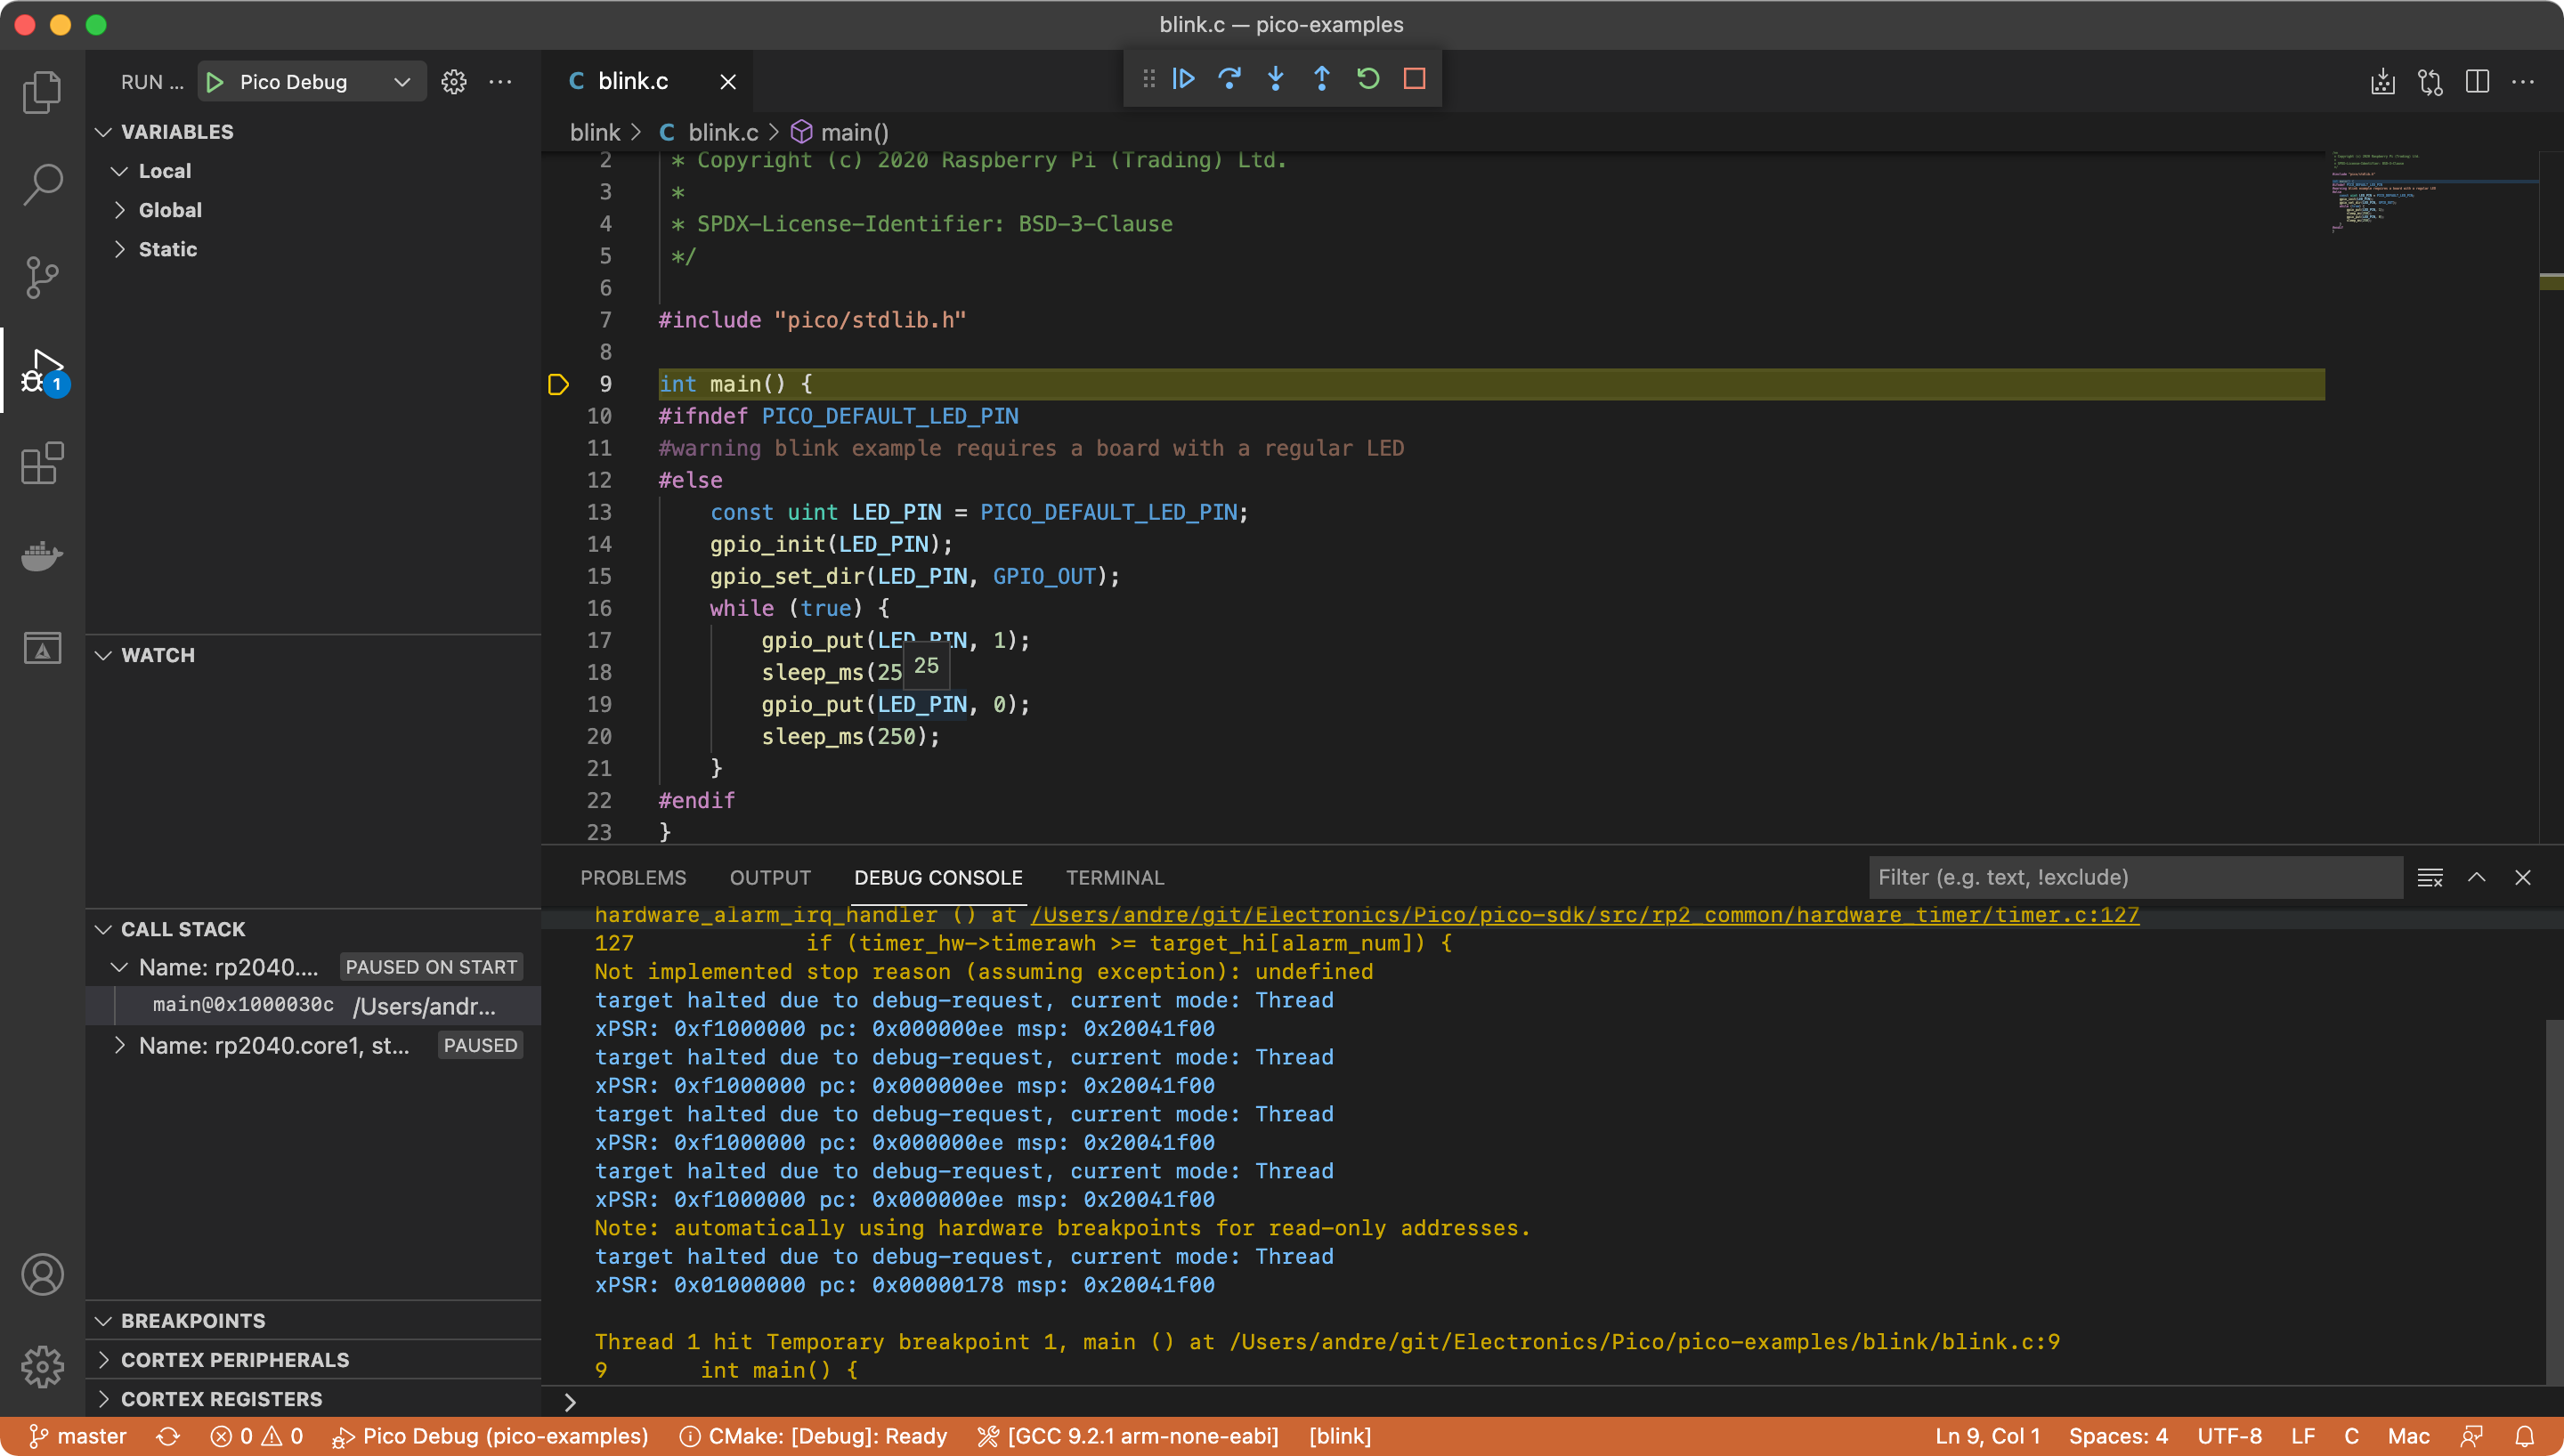
- Click the green play icon from the Run and Debug section. Select the program to run (e.g. blink)
- The debugger will stop on main() function and you can now step through the code.
Wrapping up
Congratulations! 🥳 🎉 You can now build, run and debug a Raspberry Pi Pico from you Mac (hopefully).
References
- Official – Getting started with Raspberry Pi Pico.
- DigiKey Part 1 and Part 2 guide.
- Smittytone’s development and debugging guide.
This is great article. Explained exactly what is needed.
Thank you
Thank you!
Hello Andre,
When I execute ” brew tap ArmMbed/homebrew-formulae”, I get a message as “Remote: Repository not found”.
What could be the problem?
Regards,
Vinoth
This is great article.
Thank you so much